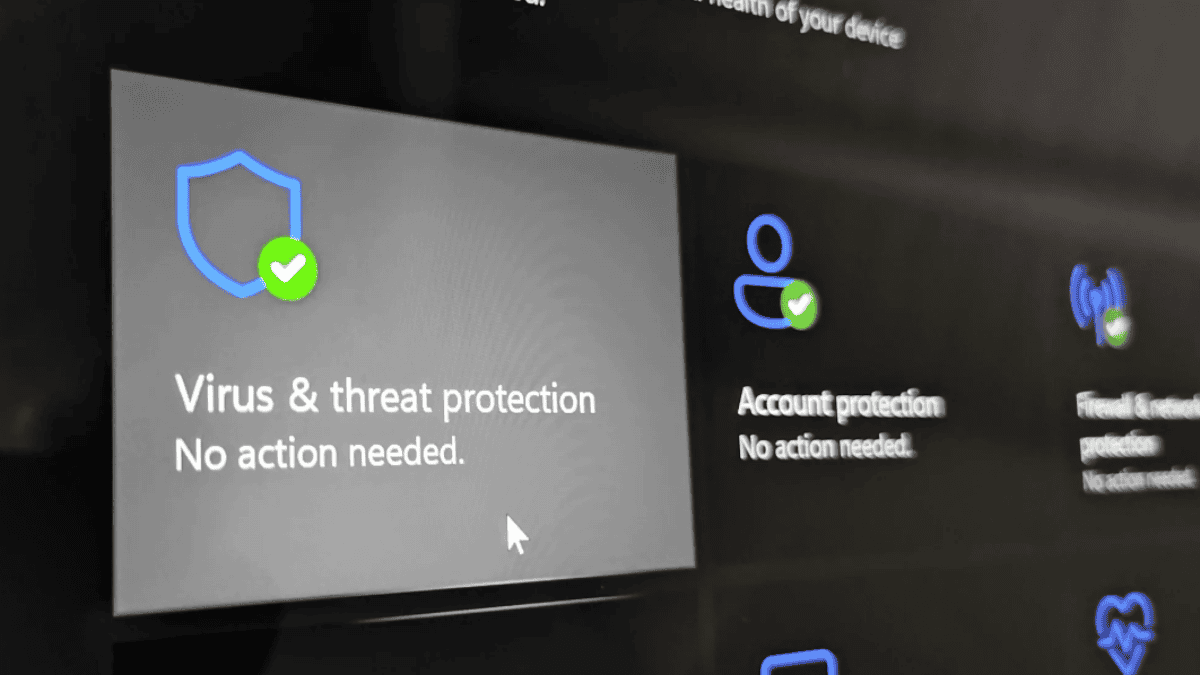
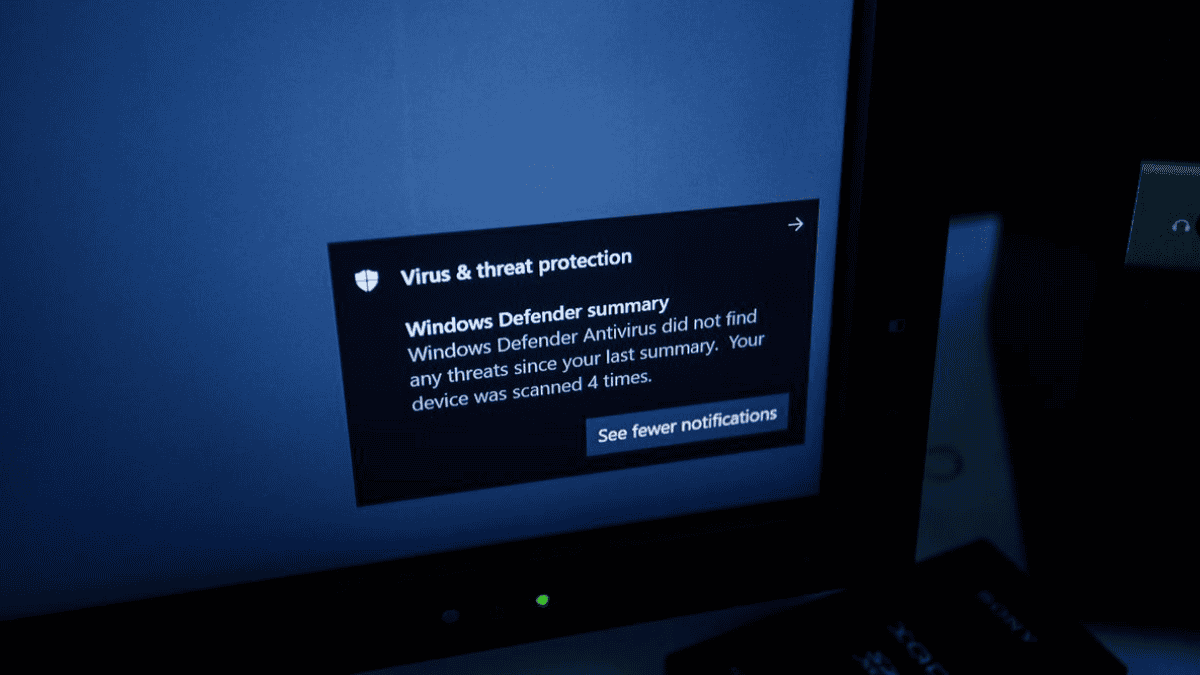
Understanding the importance of virus scans is critical for any organization looking to maintain a secure IT environment. Regular scanning helps identify and mitigate potential threats that could compromise sensitive information and disrupt operations. For those new to managing technical systems, it’s also essential to understand what is IT support, as it plays a key role in implementing these protective measures and ensuring ongoing system integrity.
Why Regular Virus Scans are Essential
Regular virus scans are essential for several reasons:
- Threat Detection: Frequent scans help detect malware and other security threats before they can cause harm.
- System Performance: By removing unwanted software and viruses, system performance can be improved.
- Data Security: Regular scans protect sensitive data from being compromised or stolen.
- Compliance: Many industries have regulations that require regular security checks, including virus scans.
Benefits of Using Windows Defender
Windows Defender offers several advantages for virus scanning that make it a suitable choice for businesses:
- Built-In Protection: It provides comprehensive security as a default feature in Windows, reducing the need for third-party software.
- Real-Time Scanning: Constant monitoring helps to quickly identify and respond to threats.
- Regular Updates: The software receives frequent updates to improve threat detection and protect against new viruses.
- User-Friendly Interface: Its intuitive design makes it easy for users to navigate and perform tasks without prior technical knowledge.
Utilizing Windows Defender and ensuring regular virus scans are part of an overall security strategy is vital for SMEs aiming to secure their IT infrastructure effectively.
Setting Up Windows Defender
To ensure a secure computing environment, setting up Windows Defender is essential for system protection. This section covers how to access Windows Defender and configure its scanning options.
Accessing Windows Defender
Accessing Windows Defender is a straightforward process. Users can locate it through the Windows Security interface. The following steps outline how to get to Windows Defender:
- Click on the Start button.
- Select Settings.
- Choose Update & Security.
- Click on Windows Security.
- Select Virus & threat protection.
This sequence will open the Windows Defender dashboard where various security features can be managed.
Configuring Scan Options
Configuring scan options allows users to tailor the scanning process according to their needs. Windows Defender offers different scan types. Below is a summary of the available scan options:
| Scan Type | Description |
| Quick Scan | Scans the areas of the system most likely to be infected. Takes a short amount of time. |
| Full Scan | Conducts a thorough examination of the entire system. Takes longer to complete but is more comprehensive. |
| Custom Scan | Allows users to define specific folders or files to scan. Useful for targeted checks. |
To configure these options, users can navigate to the Scan options under the Virus & threat protection settings. From there, they can select the desired scan type and initiate the process. Adjusting the scan preferences ensures that the necessary files are accurately checked for potential threats. Users should also consider scheduling regular scans to maintain ongoing protection.
Performing a Full System Scan
To maintain optimal security, it's important to regularly run a full system scan using Windows Defender. The guide below outlines the exact steps to perform a comprehensive scan and understand the results.
Step-by-Step Guide to Running a Full System Scan
Running a full system scan with Windows Defender is an essential process for maintaining a secure computing environment. Below is a simple step-by-step guide to executing a full system scan.
Open Windows Defender
- Open the Start menu.
- Search for "Windows Security" and press the Enter key.
Go to the Virus & Threat Protection Section
- Select "Virus & threat protection" from the Windows Security dashboard.
Select Scan Options
- Go to the "Current threats" section and select "Scan options."
Choose Full Scan
- Choose the "Full scan" option.
- This option scans all files and active programs on the computer to detect any malware.
Start the Scan
- Tap the "Scan now" button to start a complete system scan.
- The scanning might take a while based on the amount of files and applications installed on your system.
Wait for the Completion
- Let the scan finish without pausing. You’ll see a progress bar showing how much is done.
A full system scan can help detect and remove malicious software that may compromise the system's security.

Understanding Scan Results
Once the full system scan is complete, users will receive a report of the findings. Understanding these results is crucial for taking appropriate actions.
| Result Type | Description |
| No Threats Found | Indicates that the system is secure and no malware was detected. |
| Threats Detected | Lists any malicious items found during the scan. Users can choose to quarantine or remove these threats. |
| Potentially Unwanted Programs | Indicates software that may not be malicious but could be unwanted, such as adware. |
Interpreting the scan results helps users make informed decisions on managing any threats found. It is advisable to regularly review and act upon these results to maintain optimal system security—something we also emphasize in our article SCCM Administration Guide for 2025 You Must Read, where we cover proactive system management strategies in depth.
Scheduling Regular Scans
Consistency is key to maintaining a secure system. By scheduling regular virus scans with Windows Defender, users can automate the process of checking for malware and other potential threats.
How to Schedule Automated Scans
To keep systems safe without manual intervention, setting up automated scans is essential. This allows the software to run scans at predetermined intervals.
- Open Windows Security: Click on the Start menu, then select Settings. From there, navigate to "Update & Security" and click on "Windows Security."
- Select Virus & Threat Protection: Within Windows Security, find and select the "Virus & threat protection" option.
- Manage Settings: Under the "Virus & threat protection settings," click on "Manage settings."
- Schedule a Scan: Look for the option to schedule a scan. This may involve accessing an advanced menu where users can specify the frequency (daily, weekly, or monthly) and time of the scan.
Setting Scan Preferences
Once automated scans are scheduled, users can adjust their settings to tailor the scanning process to their needs. This customization can help improve the effectiveness of the scans.
| Preference | Description | Example Settings |
| Scan Frequency | How often scans will occur | Daily, Weekly, Monthly |
| Scan Time | Specific time when scans will run | 2:00 AM, 10:00 PM |
| Scan Type | Type of scan to be performed | Quick, Full, Custom |
| Notifications | Alerts for scan completion or found threats | On, Off |
To set these preferences, navigate to the scanning menu within Windows Security. Users can select their desired options based on their schedule and security needs.
Implementing automated scans along with custom preferences significantly enhances the security posture, ensuring that systems remain protected with minimal effort.
Customizing Scan Preferences
Customizing scan preferences in Windows Defender can enhance the effectiveness of your virus protection. This section covers adjusting scan settings and selecting specific file locations to scan.
Adjusting Scan Settings
Users can modify various scan settings to tailor their virus scanning experience. Important options include selecting the type of scan, setting scan frequency, and adjusting notification preferences. The following table summarizes key scan settings available in Windows Defender:
| Setting | Description |
| Scan Type | Choose from Full, Quick, or Custom scans. |
| Scan Frequency | Set to run daily, weekly, or monthly. |
| Notification Options | Enable alerts for detected threats or scan completion. |
| Exclusions | Add specific files or folders to skip during scans. |
To adjust settings, access Windows Defender through Windows Settings, navigate to the "Virus & threat protection" section, and select "Manage settings."
Choosing File Locations to Scan
Selecting specific locations to scan can be crucial for targeted protection. Users can choose to include particular drives, folders, or files, allowing for a more efficient scanning process. The table below outlines how to customize scan locations:
| Location Type | Example | Notes |
| Whole Drive | C:\ | Includes all files on the drive. |
| Folder | C:\Documents | Scans only specified folder content. |
| Individual File | C:\Documents\file.txt | Scans only the chosen file. |
To choose file locations for a custom scan, select the "Custom scan" option in Windows Defender and specify which files or folders to include. Adjusting these settings can help users effectively manage their virus protection tailored to their specific needs.

Cut the Noise. Power Up with LK Tech
Implementing these security measures and protocols allows organizations to strengthen their defenses against malware and safeguard their valuable digital assets. At LK Tech, we offer top-notch IT support tailored to your unique needs, ensuring your systems stay secure, efficient, and up to date. Our team provides reliable solutions that make cybersecurity simple and effective for businesses of all sizes. If you’ve been searching for a dependable IT company in Cincinnati, we’re here to help. Don’t wait—contact us today to elevate your protection and keep your operations running smoothly.


